An At-Home Manicure Built Around Gentle Care
Focus an at-home manicure on clean tools, a manageable nail shape and careful polish application rather than aggressive trimming.

An at-home manicure can be as simple as tidying a rough edge and applying a familiar hand cream. If you add polish, the process becomes easier when the work area is ready before a bottle is opened. Choose a stable table, protect its finish appropriately and use enough light to see the nail edges without leaning close to wet product.
Check the tools before starting
Use personal nail tools in good condition and clean them according to their instructions. A file that has become smooth in patches or a clipper that catches rather than cuts may need replacing. Do not assume a tool is clean because it has been sitting unused in a drawer.
Keep household cleaners away from the manicure supplies. Read the directions and warnings on polish, remover and any treatment product. These products can have ventilation and flammability precautions; keep them away from flames and heat sources, and close containers when they are not being used.
Work with the nail you have
Choose a length and shape that fit your daily activities. A dramatic change in shape may remove more nail than you intended, especially if you are filing quickly. Work gradually and check both hands as you go. A small amount removed evenly is easier to control than trying to correct a large mistake.
Leave cuticles alone rather than cutting or forcefully pushing them back. The AAD's manicure and pedicure guidance emphasizes protecting cuticles, which help prevent infection. Do not turn a cosmetic session into an attempt to dig out irritated skin or treat a painful nail.
If a nail is discolored, lifting, painful or persistently changing, seek professional advice before covering the problem with polish. People with conditions that affect sensation, circulation or healing should ask their clinician what home nail care is appropriate.
Make polish optional
If you use polish, follow the product's application directions and allow the stated drying time between steps. Thin, controlled application is easier to manage than flooding the nail and surrounding skin. Keep remover available for a small correction, but avoid repeatedly saturating the whole fingertip.
A clean, shaped nail without color is a complete result. There is no need to add a strengthening treatment, gel system or nail art simply because those products are available. More products bring more instructions and more opportunities for an unwanted reaction.
Plan the drying period
Before applying polish, finish tasks that require rummaging through a bag, changing bedding or washing dishes. Keep a place to rest your hands comfortably. A timer can be useful, but product directions and the actual condition of the polish matter more than a fixed universal number of minutes.
Do not use improvised heat to rush drying. If you use a specialized system, follow its complete instructions, including compatible products and curing equipment. A general manicure guide cannot establish that a particular gel or lamp combination is suitable.
Clean up while the setup is still together
Close bottles, remove used disposable materials according to local guidance and clean tools as directed. Let reusable items dry before storing them. Put the kit somewhere children and pets cannot reach it.
Finish with a moisturizer you tolerate, following its directions. The next manicure should begin with familiar, usable tools rather than a search through dried polish and loose files. Gentle maintenance is easier to repeat when the setup remains modest.
Continue exploring
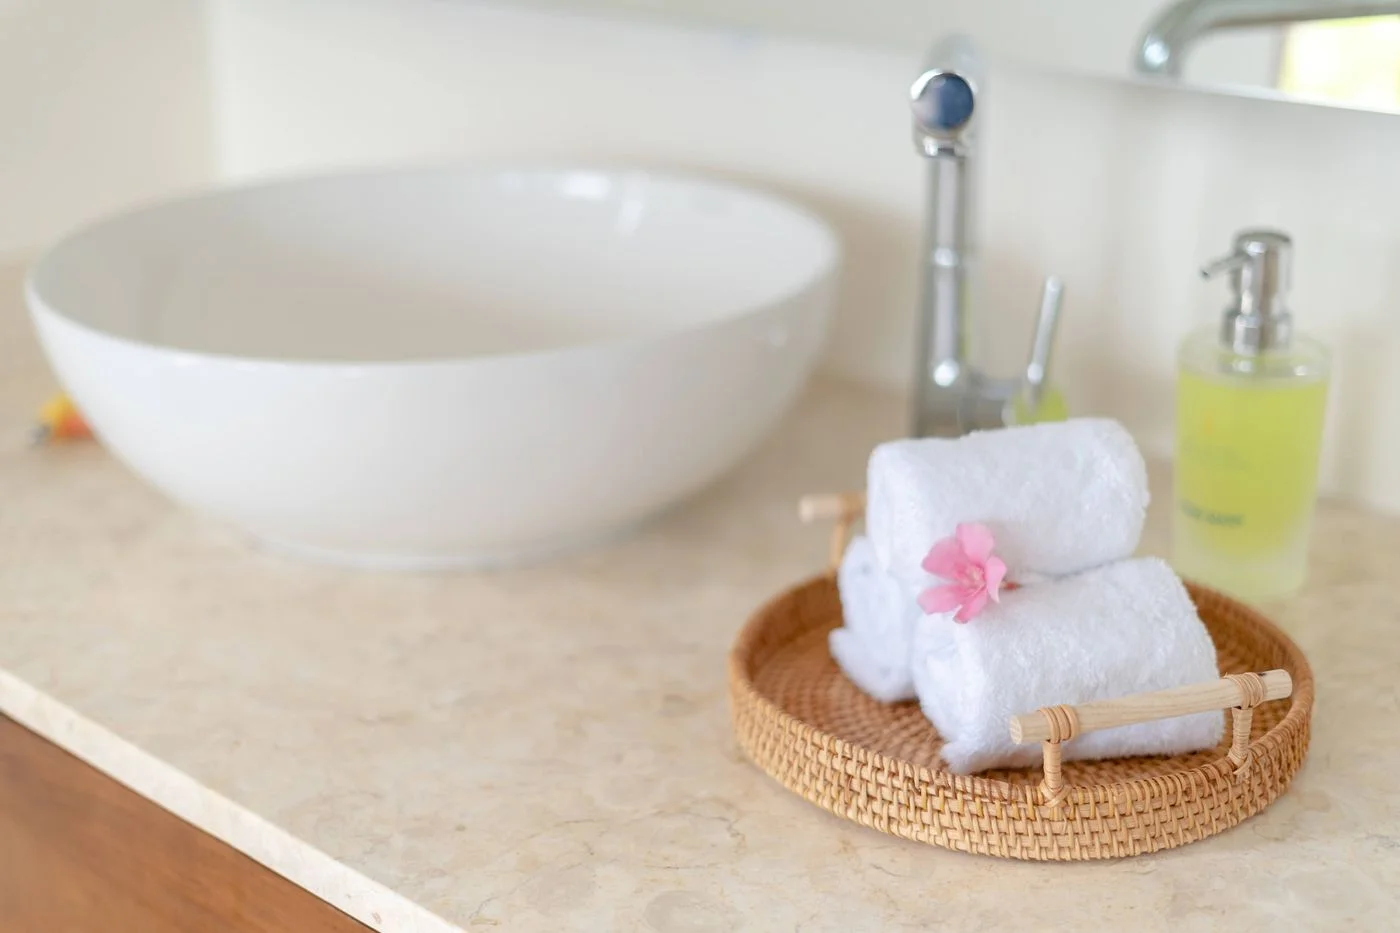
An Unhurried Evening at the Bathroom Sink
A comfortable evening routine starts with a usable sink, familiar products and a little less rushing.
Keep reading: An Unhurried Evening at the Bathroom Sink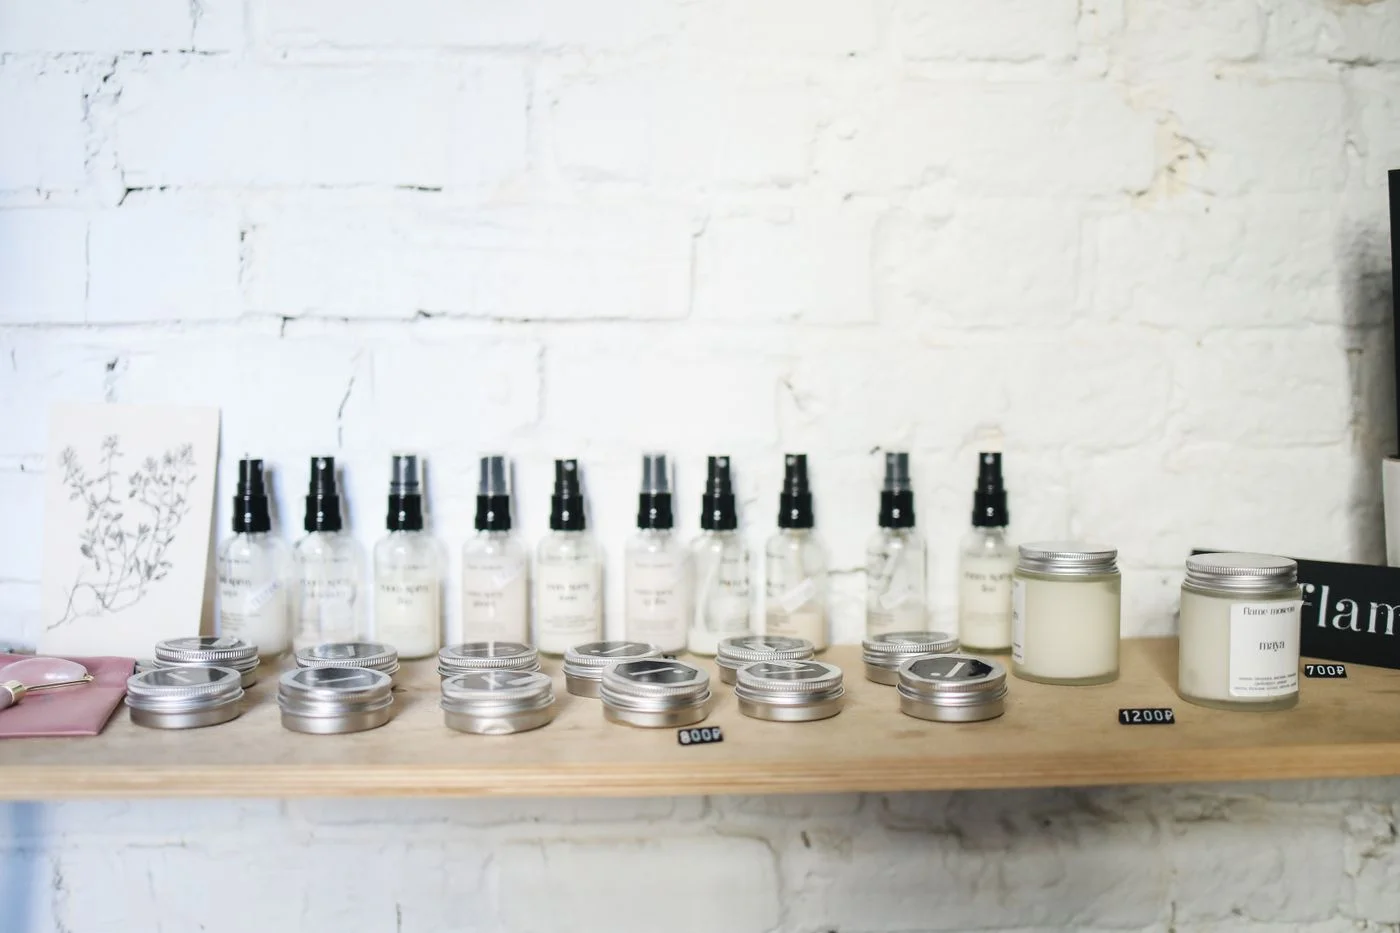
Setting Up a Small Beauty Shelf
Use the dimensions of your products and your daily movements to plan a beauty shelf that stays usable.
Keep reading: Setting Up a Small Beauty Shelf