Before Your First Facial Cleansing Device
A facial cleansing tool is an optional addition. Start with the manual, a compatible cleanser, and a plan for keeping the tool clean.

A new cleansing device can look self-explanatory: wet it, switch it on, and move it across your face. The details that deserve attention are less visible. Some tools need an initial app setup; others have replaceable heads, particular cleanser restrictions, or separate controls for different functions. Taking a few minutes to sort those out is more useful than testing every setting on the first evening.
It is also worth deciding what the tool is meant to add. A cleansing device is optional. The American Academy of Dermatology's face-washing guidance recommends a gentle cleanser, lukewarm water, and fingertips, and cautions against scrubbing. A device should not become a reason to make washing longer or more aggressive.
Identify the exact model
Keep the box or photograph its model number before putting packaging away. A familiar brand name does not mean every tool operates in the same way. Find the corresponding manual on the manufacturer's website and save a copy somewhere you can retrieve it. Check the start-up steps, permitted treatment areas, warnings, charging instructions, and care instructions.
Read the warnings before experimenting. If you have an active skin problem, recent procedure, or another circumstance mentioned in the manual, resolve that question with an appropriate health professional before use. A general blog cannot decide whether a particular device suits your skin.
Check the cleanser you already own
You do not need to assemble a completely new routine simply because a device arrived. You do need to establish compatibility. For example, the FOREO LUNA 4 manual excludes certain cleansers, including grainy, clay-based, and silicone-based formulas, because they may damage its silicone touchpoints. That is a model-specific instruction, not a rule to apply to every facial tool.
If the label leaves you unsure, ask the manufacturer about the product rather than guessing from its appearance. Put aside any incompatible cleanser for use without the tool, if it otherwise suits you. Do not add a scrub to make the session feel more effective.
Set up the whole routine, including the finish
Arrange a clean towel and a place for the device to dry before starting. Work out how to switch it off without looking for a tiny control while your hands are wet. Follow the model's directions for preparation, movement, pressure, and session length; its highest setting is not a target you need to reach.
Keep other new products out of that first trial. When several things change together, it becomes harder to tell what made your skin uncomfortable. If the tool causes pain, burning, or irritation, stop using it rather than repeating a session to see whether your skin will adapt.
Make cleaning part of using it
Follow the supplied cleaning instructions after use, including any restrictions on cleaning products. Check the charging guidance before connecting a device that has been near water. Give it a suitable dry storage place instead of dropping it into a closed toiletry bag while damp.
After a few ordinary uses, consider the experience as a whole: the controls, the cleanup, and how your skin feels. A tool that does not fit your routine does not need a more elaborate routine built around it.
Continue exploring
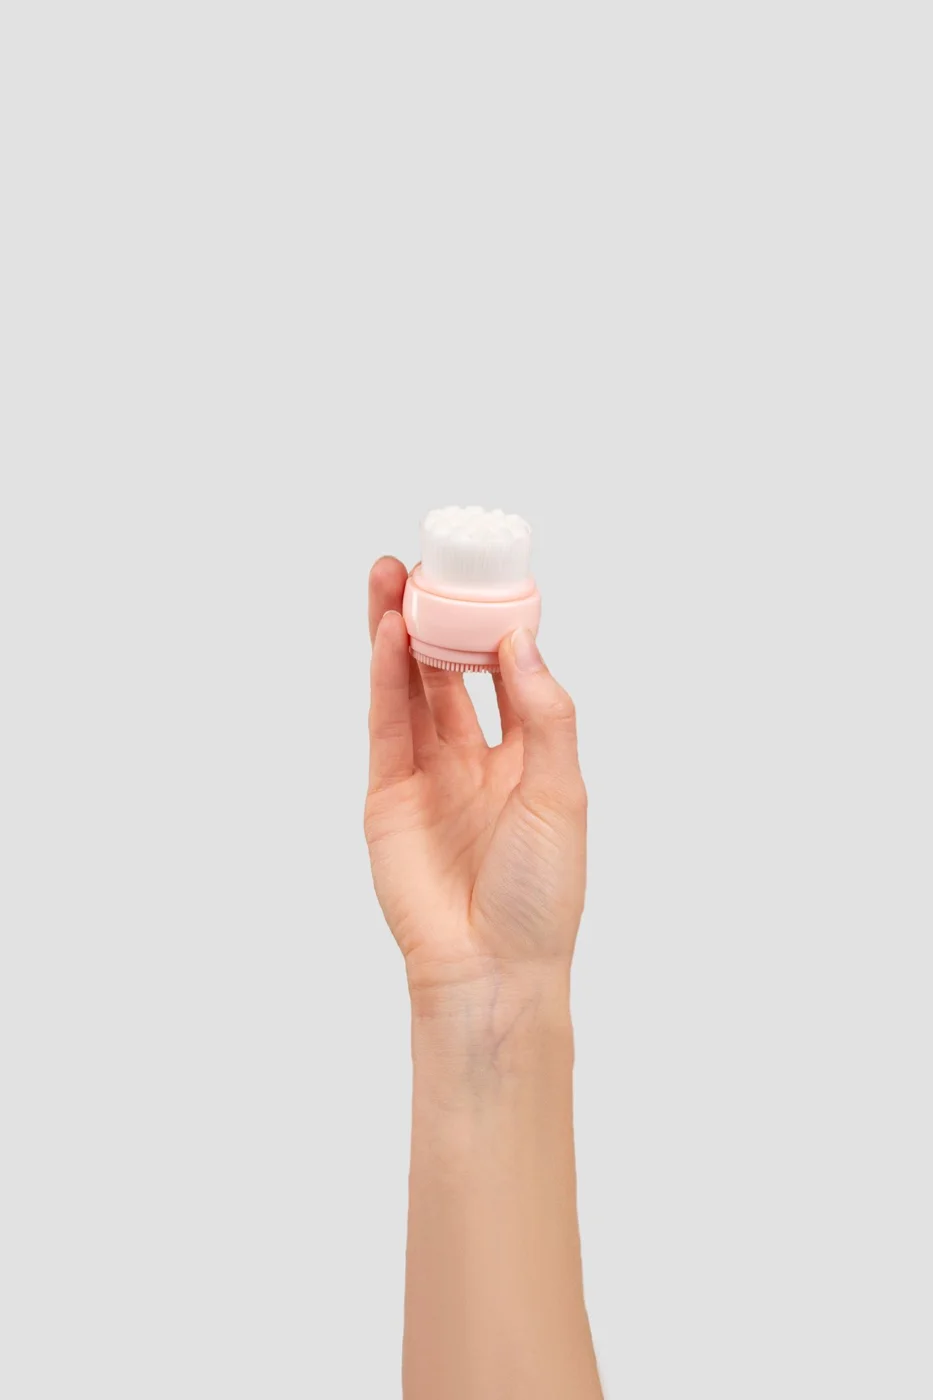
Silicone and Bristle Cleansing Tools: Everyday Differences
The surface material is only part of the decision. Consider drying, replacement parts, grip, and how the whole tool fits beside your sink.
Keep reading: Silicone and Bristle Cleansing Tools: Everyday Differences
A Cleansing Device Should Not Mean More Pressure
Strong pressure is not a useful target for facial cleansing. Learn the tool’s movement first and keep scrubbing out of the routine.
Keep reading: A Cleansing Device Should Not Mean More Pressure