Charging a Beauty Tool Safely at Home
Give a rechargeable beauty tool a dry, stable charging place and use the electrical accessories specified for its model.
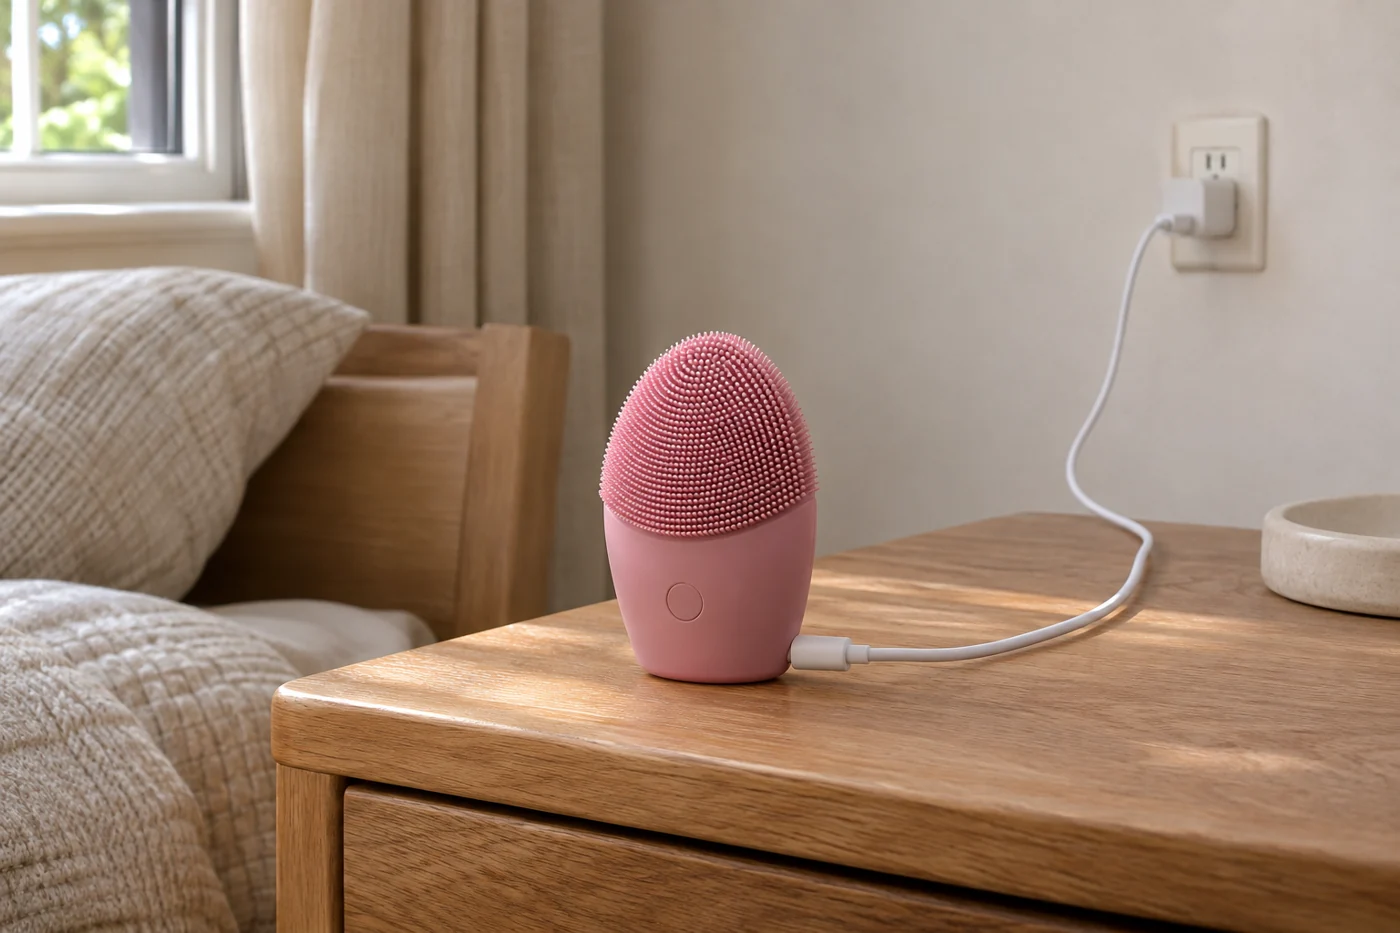
A beauty tool often lives beside a sink while its charger lives wherever an outlet is free. Bringing those two things together deserves a little planning. Before the first charge, read the power and charging section of the manual, including any requirements for the adapter, cable, and dryness of the connection.
Do not judge a charger by connector shape alone. A plug that fits does not answer every question about the electrical supply the device expects. If an adapter is not included, use the manufacturer's stated requirements to choose one. Keep the original cable identified so it does not disappear into a box of near-matching cords.
Choose the place before plugging in
Look for a stable surface away from splashes, heat, and items that could fall onto the device. The cable should reach without tension and should not trail across a walkway or pull the tool toward the edge. Follow the manual about ventilation and do not cover the device while it charges.
Charge only after the required parts are dry. A freshly rinsed tool may need attention around recesses or contacts even when its broad surface looks dry. Never treat a water-resistance claim as permission to connect a wet device to power.
Know the normal signals
Check what the charging light should do and how completion is indicated. Some lights pulse, some change color, and some switch off; guessing from another gadget can create needless concern or cause you to overlook an unusual signal.
Keep a note of the expected charging process, but avoid repeated trial-and-error with different cables if something seems wrong. Follow the user troubleshooting instructions. Stop charging a damaged, unusually hot, swollen, leaking, or malfunctioning product and obtain manufacturer guidance. Do not open a sealed housing or attempt an improvised battery repair.
Put the charger away deliberately
After disconnecting as directed, store the cable without tight knots or sharp bends. Keep the connector clean and protected from loose bathroom products. Inspect it occasionally for visible wear rather than waiting until it stops working.
A simple labeled pouch for the device's charging accessories can prevent confusion during travel or a move. Store the manual and support information digitally with the model name. The aim is an ordinary, predictable charging routine, with no need to improvise around water, damaged parts, or an unknown adapter.
Continue exploring

Before Your First Facial Cleansing Device
A facial cleansing tool is an optional addition. Start with the manual, a compatible cleanser, and a plan for keeping the tool clean.
Keep reading: Before Your First Facial Cleansing Device
Silicone and Bristle Cleansing Tools: Everyday Differences
The surface material is only part of the decision. Consider drying, replacement parts, grip, and how the whole tool fits beside your sink.
Keep reading: Silicone and Bristle Cleansing Tools: Everyday Differences