Replacing a Cleansing Brush Head
Match the replacement to the exact device, check its condition, and keep a simple installation record instead of guessing from appearance.
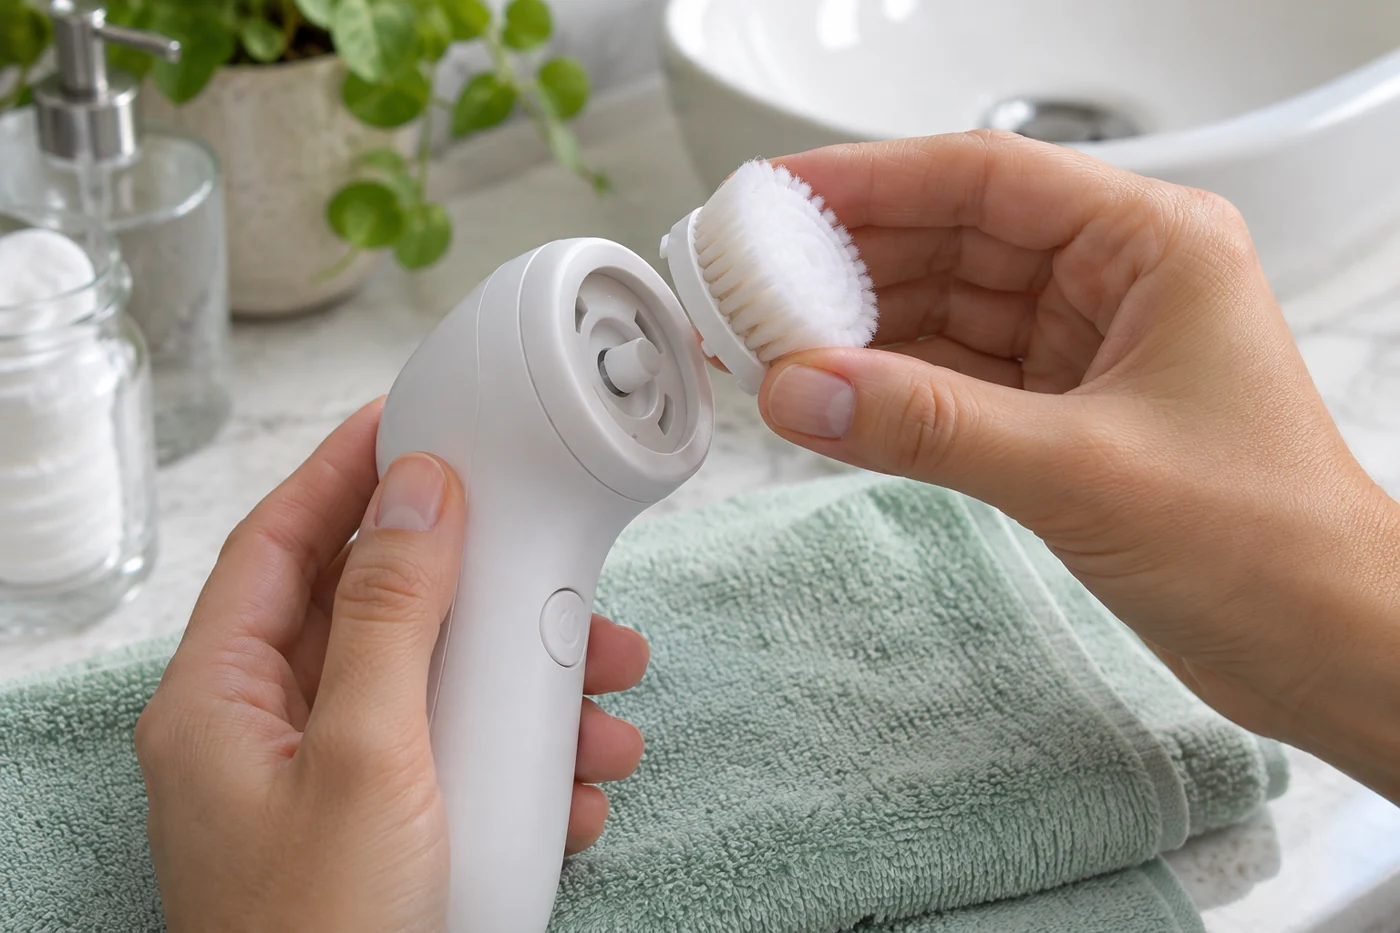
A replacement brush head can look almost identical to the old one and still be the wrong part. Begin with the device's model number and the manufacturer's compatibility list. A matching color or a familiar connector shape is not enough to establish that a head belongs on your tool.
Check the manual for the recommended replacement schedule and any signs that call for earlier replacement. Wear, damage, and changes in operation deserve attention even if a calendar reminder has not arrived. Conversely, do not invent a universal interval from an unrelated toothbrush or facial brush.
Buy the part before the routine becomes inconvenient
Save the correct part number with the receipt or device notes. When you need another head, compare the current listing with that number, including any generation or size information. If a seller says it fits many models, verify your exact one rather than relying on the broad headline.
Look at pack size and storage. A large multipack is useful only if you can keep unused heads clean, dry, and within any relevant product guidance. It may be less convenient than a smaller supply if the device is nearing the end of its useful life.
Change it according to the manual
Turn off the device and follow the prescribed removal and fitting steps. Do not pry at a sealed connection or force a head that does not sit correctly. If the old piece will not release as described, contact support rather than escalating from fingers to improvised tools.
Inspect the new head before use. Check for damage, loose parts, or an unexpected difference from the item you ordered. Clean or prepare it only as the manufacturer directs. Keep the packaging until you are satisfied that the part is correct.
Make the next replacement easier
Record the installation date in a note or calendar, along with the part number. The note is a reminder to inspect and follow the recommended schedule, not permission to keep using a damaged head until a particular day.
Dispose of the old component according to its material and local guidance. Do not assume that a small plastic-looking head is accepted in household recycling. A tidy replacement routine keeps the tool usable without turning maintenance into guesswork, and it helps reveal whether ongoing parts are still readily available.
Continue exploring

Before Your First Facial Cleansing Device
A facial cleansing tool is an optional addition. Start with the manual, a compatible cleanser, and a plan for keeping the tool clean.
Keep reading: Before Your First Facial Cleansing Device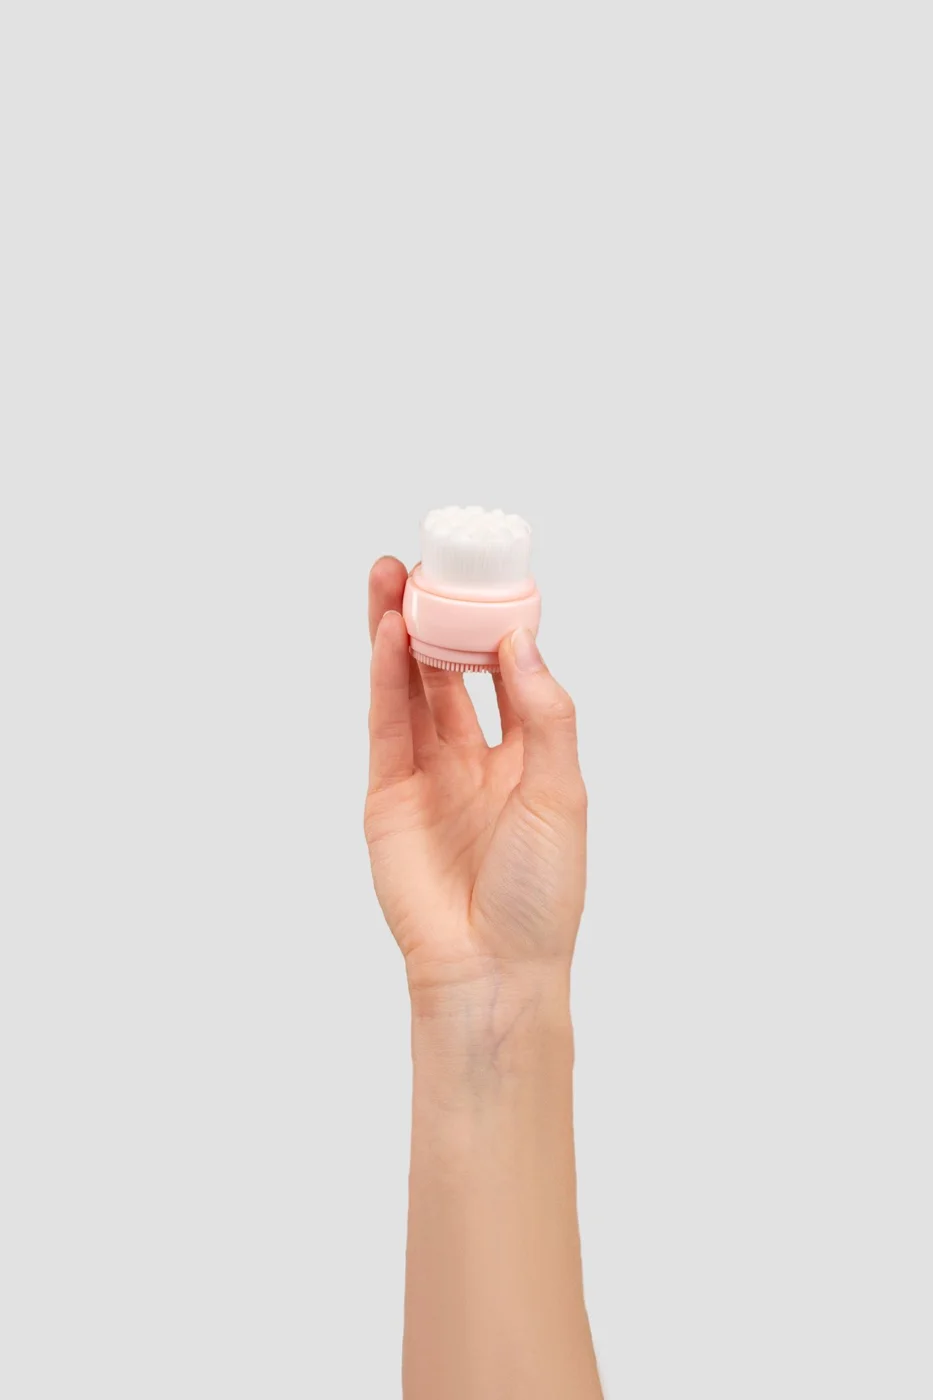
Silicone and Bristle Cleansing Tools: Everyday Differences
The surface material is only part of the decision. Consider drying, replacement parts, grip, and how the whole tool fits beside your sink.
Keep reading: Silicone and Bristle Cleansing Tools: Everyday Differences